The project itself consisted of 4 separate but interlinked processes: Construction of a rooftop rainwater collection system hat drained rainwater from two sides of the roof into two 600 gallon collecting tanks; construction of a pair of 5 gallon biosand filters to purify the collected water; sampling and bacterial testing of specimens from existing water sources within the community; and locating and surveying additional sites for future work. We divided into several teams to get all this done. I did most of my work on the tank construction with Kyle and Scott. The first step was to build the stands for each of the tanks. The axis of the roof at the rancho runs from north to south so I have identified the east side tank as Tank No.1 and the west side tank as Tank No. 2 for convention sake. To maintain proper hydraulic gradient, facilitate ease of use by the community, and to make optimal use of the first flush system (to be explained later) the tanks had to be situated about 3 feet above ground level and level with each other. Bear in mind that when the tank is full each stand must carry over 5000 pounds of water weight. Each stand consisted of four 4 x 4 cross-braced uprights supporting a 6 foot by 6 foot platform. The platforms also held a frame for a corrugated zinc enclosure to hide the tanks, with a hinged door in the frame to allow for removal of the tanks for cleaning and maintenance. The stands were built of a local wood called nispero that resembles cedar but is unbelievably hard and heavy. Standard 4 and 6 inch wood screws, even pre-drilled, sank in about 3 inches the bit with such tenacity that they would not turn and the heads would shear off. Pre-drilled nails (where acceptable) bent more than 50% of the time. The only fasteners that were reliable were the TimberLock screws that Kyle brought down from the States so that they were at a premium and had to be used sparingly.

Ambrosio - Community Leader For This Project and Skilled Lumbersman
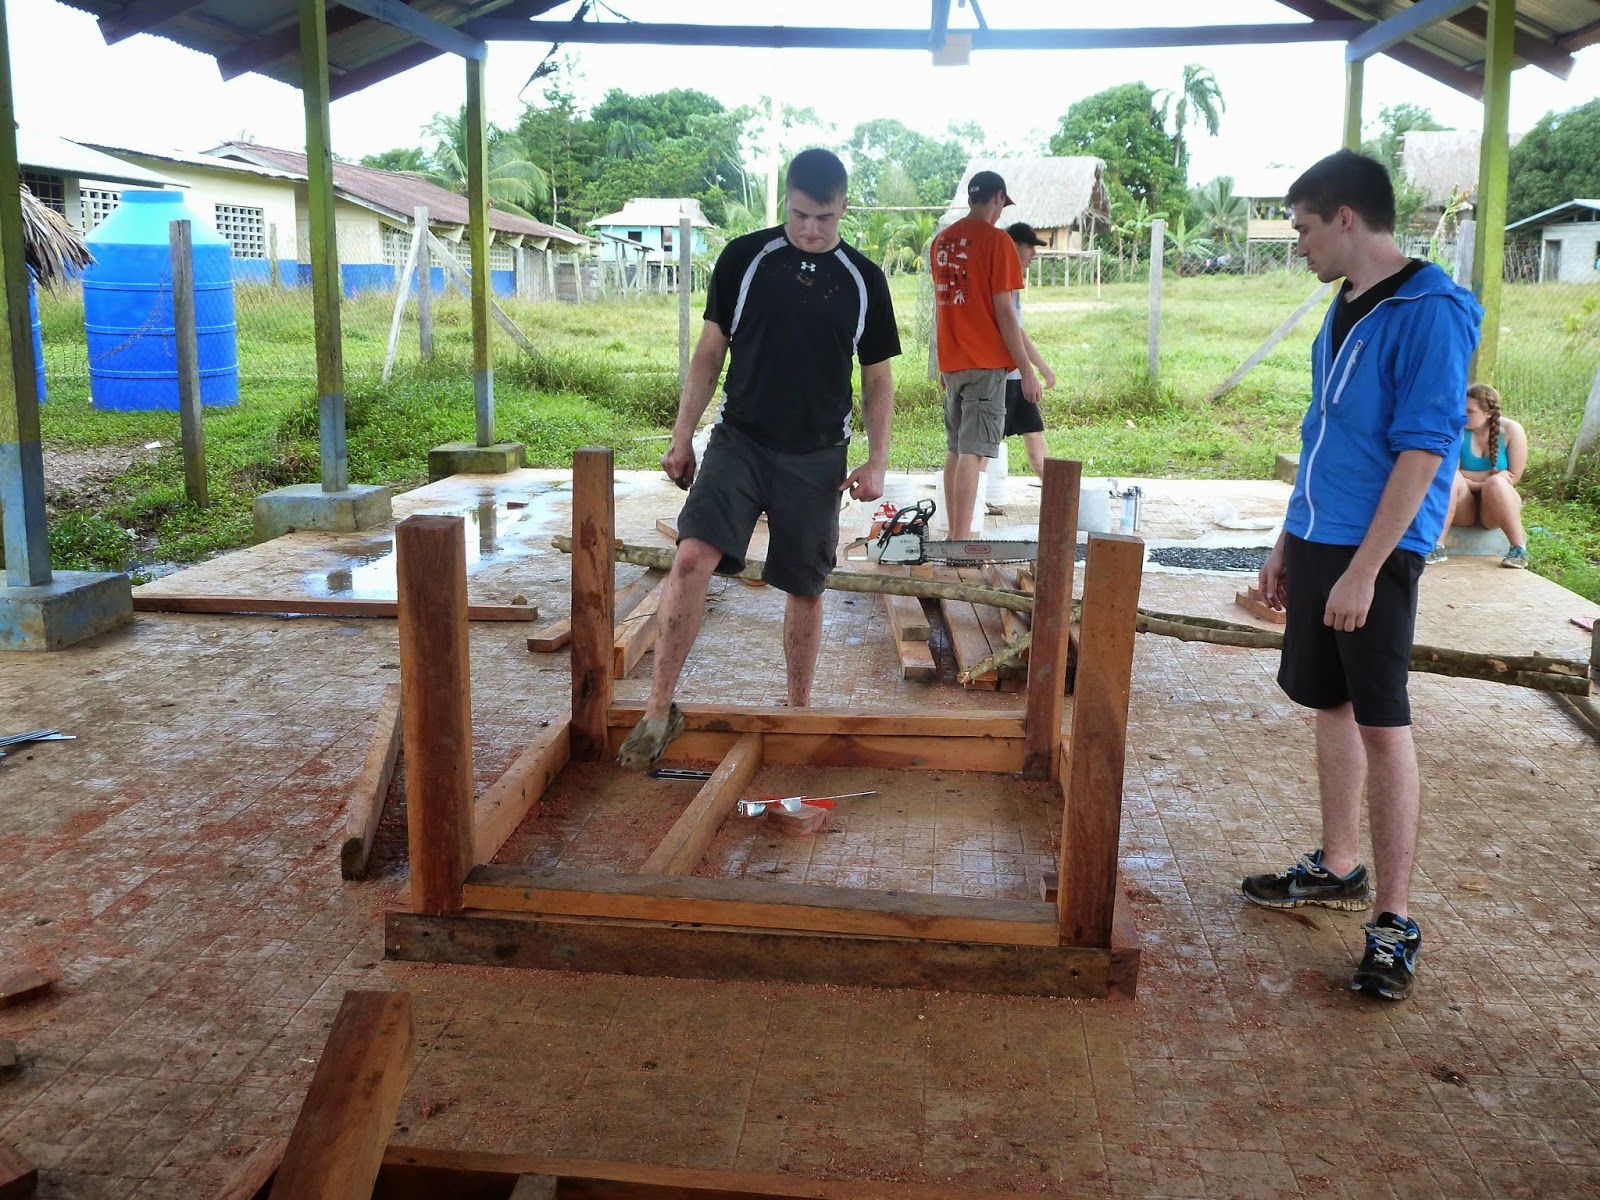
Building the First Tank Stand - Kyle, Mike & Jesse (L - R)
We had arranged to purchase the lumber locally from Ambrosio rather than buy it in Isla Colon and transport it by barge. What we gradually came to realize was that this wood was grown and harvested locally and all of the boards were hand cut to size by Ambrosio and a few other men on the island using chain saws. This was not mill cut, kiln dried, dimensional lumber. A 2 x 4 literally measured two inches by four inches. Every piece we used had been standing forest somewhere on that island until just a few days before we got there. Turns out that lumbering, in addition to fishing, is one of the major sources of income for the island. There is a small amount of subsistence farming but nothing that actually produces significant revenue. Ambrosio, in turn, was an artist with a chainsaw. If you needed a six foot piece of 1 x 4 he would rip it right on the spot and the cut would be perfect.

First Tank Stand Nears Completion - Scott, Ambrosio & Ramon (L - R)
We built the stands up on the floor of the rancho and as we hammered, sawed and drilled, the rains began and continued to fall. This created a huge mess as the ground, a tight clay, became mud of a legendary variety. It sucked. I mean it literally sucked at your feet and would pull sneakers or crocs right off your feet. Pretty soon our feet felt like we were claymation figures in a Gumby short.On top of this, all of the runoff from the field above the rancho was chanelled under the walkway through a drainpipe directly into the site of Tank No. 2 which was to be our first stand installation. As the rain continued the mud at the site just worsened and worsened. One of my first real engineering contributions was to manage the drainage problem. I figured out that by connecting an elbow to a few four inch PVC pipes and excavating a few of the high points I could redirect the flow away from the stand site and out into the field. This provided the additional advantage of a source of fast flowing water in which we could wash our hands and shoes of the mud.


We also put up a few pieces of corrugated zinc to try to cover the site but despite this we still had one big mudhole to contend with. Despite our best efforts this is what we were working in. And this was looking good after being bailed out.

Footing Holes for Stand No.1
I'm going to break off here for a bit as my team is getting ready to head off to the airport and I want to say my farewells.
No comments:
Post a Comment